A renovation promises a fresh start—but it often leaves behind a stubborn mess. In Post-Renovation Cleaning Guide: Restore a Dust-Free Home Fast, you’ll learn exactly how to remove fine dust, protect your health, and get your space ready to enjoy in days, not weeks. Whether you just finished a kitchen makeover or a whole-home remodel, the steps below help you beat lingering grit, safeguard indoor air quality, and avoid common mistakes that waste time and money. If your home still looks hazy at sunset or powder keeps reappearing on every surface, consider this your fast track to a clean, calm, dust-free finish.
The Real Problem: Why Renovation Dust Lingers and How It Affects You
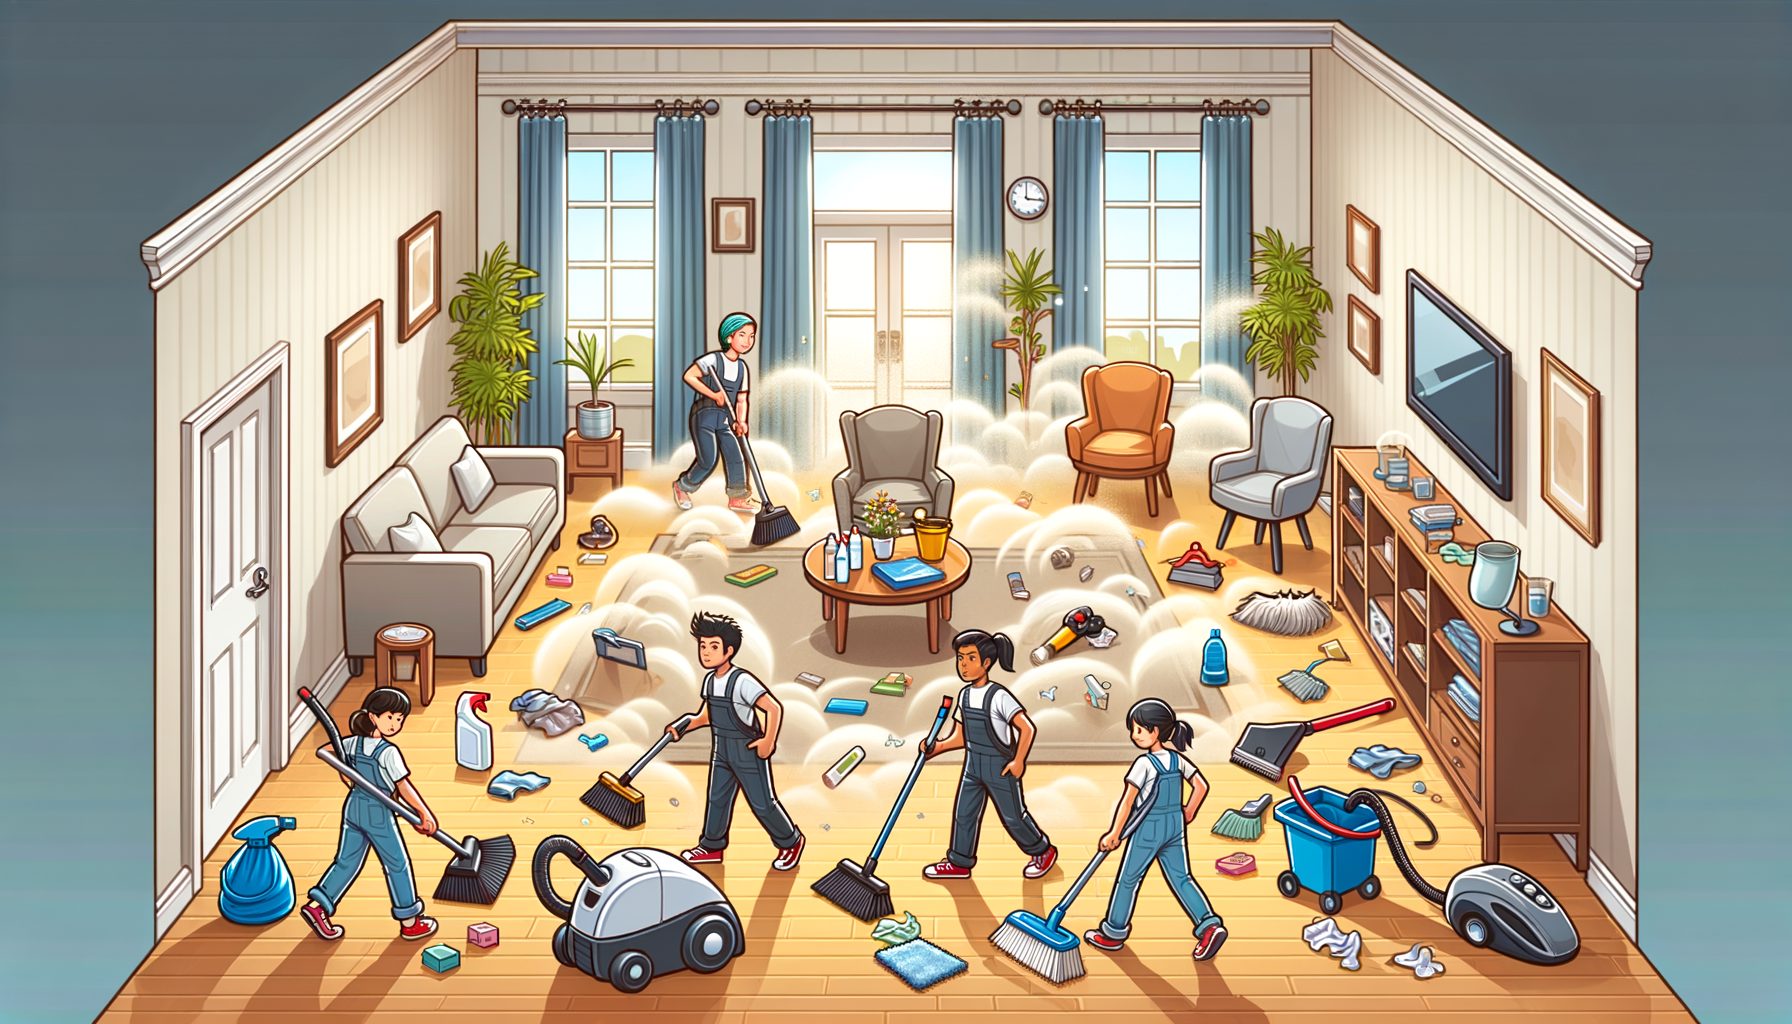
Renovation dust isn’t your everyday household dust. Cutting drywall, sanding wood, grinding tile, and mixing mortar kick up ultra-fine particles that travel far, float for hours, and settle into every gap. You’ll find plaster, gypsum, silica from concrete, wood fibers, and paint residue in the mix. In some projects, hazardous materials may be released—lead from old paint or, in older buildings, asbestos from outdated materials. Most frustrating of all, it lingers; even after a full vacuum and wipe-down, air currents and footsteps can loft it back up to resettle.
The concern goes beyond appearances. Fine particulate matter (PM2.5) can be inhaled deep into the lungs, irritating kids, older adults, and anyone with asthma or allergies. Silica dust from concrete and tile work is especially risky during active construction; if you suspect heavy silica exposure, consult safety guidance from your contractor or local regulations. If any part of your remodel involved disturbing old paint, review the U.S. EPA lead-safe practices and consider professional cleaning or testing before DIY cleanup. The goal is not just to remove dust but to manage it safely.
Dust lingers for a few reasons: static-prone surfaces grab it, trim gaps hide it, and HVAC systems cycle it. Fresh paint and new materials may also off-gas volatile organic compounds (VOCs), contributing to that “new house” smell—chemicals that clear faster with good ventilation and filtration. What works best is a methodical, top-down clean: start with dry capture, move to damp wiping, finish with air cleaning and filter changes. Use the right order and tools—especially HEPA filtration—and airborne particles drop while cleaned surfaces stay dust-free longer. Done well, the air looks clearer, light pops off surfaces, and floors stay clean underfoot.
Step-by-Step Post-Construction Cleaning Checklist (Fast, Safe, and Thorough)
Use this practical, top-down sequence to avoid rework and restore your home fast. Start only after contractors have finished sanding and sweeping, and protect yourself with a proper mask and eye protection during the first pass. Open windows if the outdoor Air Quality Index (AQI) is good; otherwise, close windows and run air purifiers.
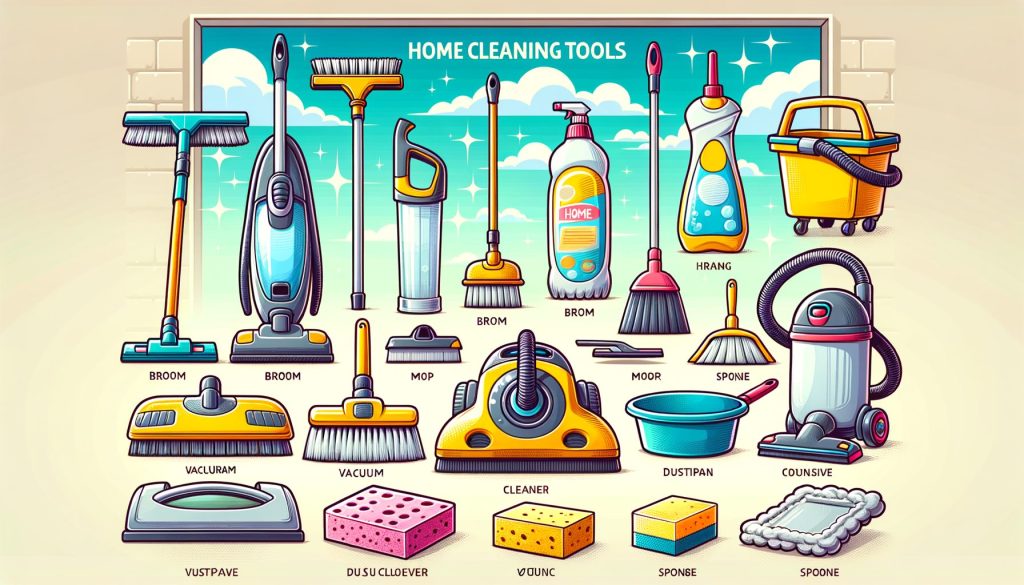
1) Prepare and contain. Close doors to finished rooms, place doormats at thresholds, and set a box fan exhausting out a window to pull dusty air outside. Turn off the HVAC during active dusting to avoid recirculation. Gather tools: a true HEPA vacuum with crevice tools, microfiber cloths, a bucket with mild detergent, and a step stool for high spots.
2) Dry capture from the top down. Start with ceilings, crown moldings, light fixtures, vents, and tops of cabinets. Use a soft-brush HEPA vacuum attachment to lift dust without smearing. Then move to walls: lightly vacuum or use a barely damp microfiber cloth to prevent streaks. Clean window frames, tracks, and sills, then door frames, baseboards, and trim.
3) Damp wipe and detail. Mix warm water with a few drops of mild dish soap or a pH-neutral cleaner. Wring microfiber until it is almost dry. Wipe all horizontal surfaces—shelves, counters, ledges—then follow with a clean, damp cloth and finally a dry cloth to prevent haze. For paint splatters on hard surfaces, use a plastic scraper, not metal.
4) Floors last. Vacuum edges and under appliances with the crevice tool, then the entire floor using slow, overlapping passes. Mop hard floors with a microfiber pad and a light solution; avoid soaking new wood or engineered boards. For carpets and rugs, use a HEPA vacuum with multiple slow passes; consider a professional hot-water extraction once dust levels drop.
5) Re-clean after 24–48 hours. Dust continues to settle. A quick second pass on high-touch surfaces and floors locks in the finish.
Estimated effort by task (per 100 sq ft):
| Task | Best Tool | Avg. Time | Common Mistake |
|---|---|---|---|
| Ceilings, lights, vents | HEPA vac + soft brush | 15–20 min | Using feather dusters (redistribute dust) |
| Walls, trim, windows | Microfiber (slightly damp) | 20–30 min | Over-wetting painted walls |
| Horizontal surfaces | Microfiber + mild cleaner | 15–25 min | Skipping a dry buff to prevent haze |
| Floors (hard/carpet) | HEPA vac + microfiber mop | 20–30 min | Rushing vacuum passes |
From experience supporting homeowners and site managers, a two-pass method (initial deep clean plus a 48-hour re-wipe) dramatically reduces lingering dust and gets rooms “photo-ready” faster than one long marathon session. It also helps you spot contractor touch-ups without stirring everything up again.
Gear That Works: HEPA Vacuums, Filters, and Safe Products
Not all tools are equal when you are chasing ultra-fine renovation dust. A true HEPA vacuum (not “HEPA-type”) with a sealed body prevents captured particles from leaking back into the room. Look for HEPA filtration rated to remove 99.97% of particles at 0.3 microns, plus a motorized or hard-floor head and a crevice tool for edges and vents. Bagged designs often keep dust contained better than bagless models when emptying.
For air cleaning, use a portable purifier that’s AHAM Verified and sized correctly. A simple rule of thumb: for smoke (the smallest particles), choose a Clean Air Delivery Rate (CADR) roughly two-thirds of the room’s area in square feet. A 150 sq ft room needs around 100 CADR for smoke. Run purifiers on medium or high during and after cleaning until dust readings (or visible haze) drop. If your central HVAC supports it, upgrade to a MERV 13 filter (or the highest rating compatible with your system) to capture fine particles; check with your technician if higher resistance could affect airflow.
Safety matters. Wear an N95/FFP2 mask or better during initial vacuuming and when handling debris. Goggles protect eyes against grit. Use nitrile gloves for chemical handling and a knee pad if you’ll be scrubbing floors. For cleaners, pick fragrance-free, pH-neutral formulas that won’t leave residues that attract dust. Microfiber cloths trap particles without scratching. Avoid mixing chemicals—especially bleach and ammonia—because it can produce toxic gas. For sticky dust on trim, a slightly damp microfiber is safer than aggressive solvents that can dull finishes. If your project may have disturbed lead paint, follow your local regulations or the U.S. EPA Renovation, Repair and Painting (RRP) guidance and consider a certified cleanup.
Useful resources to confirm standards and safety include OSHA guidance on silica dust, AHAM Verified listings for air purifiers, and EPA/CDC materials on healthy cleaning. These references help you choose the right gear, set proper expectations, and avoid risky shortcuts.
Air Quality Recovery: Ventilation, HVAC, and Smart Dust Control
Great post-renovation cleaning is as much about air as it is about surfaces. Before you start, check outdoor air quality; if AQI is good, cross-ventilate by opening opposite windows for a short burst to flush VOCs. If outdoor air is poor, keep windows closed and rely on HEPA purifiers. Creating negative pressure with a box fan in a window (blowing out) helps prevent dust from drifting into clean rooms.
Turn the HVAC off during active dusting so particles don’t get pulled into returns. After the first full clean, install a fresh filter (ideally MERV 11–13 if your system allows). If you see heavy debris around vents or you ran the system during construction, consider a professional HVAC inspection; duct cleaning can be worthwhile when there’s visible dust buildup, lingering odors, or reduced airflow. Keep humidity around 40–50% to reduce static cling and help fine dust settle for easier capture.
Run portable air purifiers continuously for several days post-clean, especially in bedrooms and living areas. Place units away from walls for better circulation, and clean pre-filters weekly during the first month. If you’re tech-minded, a low-cost particle monitor can confirm progress; you’ll often see spikes during vacuuming and mopping that drop back to baseline within an hour if ventilation and filtration are effective.
Smart control also means smart habits: shoes off at the door, doormats inside and out, a quick vacuum at entryways every evening for the first week, and a microfiber wipe of horizontal surfaces after 48 hours. With that routine, the resettling window shrinks and fine dust is kept from spreading deep into fabrics and carpets. Most households find that by day five to seven—using the sequence above—air looks visibly clearer, filters capture much less debris, and rooms stay clean between normal weekly chores.
DIY vs. Hiring Pros: Costs, Timing, and When to Call in Help
Many homeowners can handle post-renovation cleaning with the right tools and a weekend plan. Expect roughly 6–10 labor hours per 1,000 sq ft for a light-to-moderate project, and more if there was heavy drywall sanding or tile cutting. A HEPA vacuum rental can cost about $25–$50 per day, quality microfiber kits $20–$40, and masks/gloves another $15–$30. Portable air purifiers vary, but one correctly sized unit per main room speeds recovery.
Professional post-construction cleaning is a good investment when time is tight, ceilings are tall, or there are safety concerns. Prices vary by region and scope, but a common range is about $0.15–$0.50 per square foot, with higher rates for detail-heavy work (cabinet interiors, high fixtures, grout haze). Whole-home HVAC inspections or duct cleanings commonly range from $300–$700 depending on system size and condition. When you evaluate companies, ask for a written checklist, confirmation of true HEPA equipment, and proof of training. If your home was built before 1978 or you suspect lead paint disturbance, request an EPA RRP-certified firm.
Call pros immediately if you suspect hazardous materials (lead, asbestos), if you notice persistent chemical odors despite ventilation, or if family members have respiratory conditions that require minimal exposure. Also consider help for glass polishing to remove fine scratches, stone sealing after dust exposure, or deep carpet extraction once airborne dust declines. A hybrid approach works well: hire a crew for the initial “construction clean,” then do your own 48-hour re-wipe and purifier run. This splits costs and still delivers that fresh, dust-free feel quickly.
Whatever route you choose, schedule cleaning as soon as the last dusty task ends, reserve equipment in advance, and block time for the second pass two days later. Doing so avoids delays, protects finishes, and gets you living in your new space sooner.
Q&A: Common Post-Renovation Cleaning Questions
Q: When should I start cleaning after contractors leave? A: Begin once all sanding, sawing, and drilling are done and large debris is removed. If painters finished today, wait until walls are dry to avoid streaks. Start with dry HEPA vacuuming from the top down, then follow with damp wiping and a floor finish.
Q: How long does dust keep settling? A: Expect noticeable resettling for 24–48 hours, with lighter fallout up to a week depending on ventilation and foot traffic. That’s why a 48-hour re-wipe and a filter change are so effective; they catch what the first clean stirred up.
Q: What vacuum should I use? A: Choose a sealed, true HEPA vacuum with a soft brush and crevice tools. “HEPA-type” or unsealed units can leak fine dust back into the room. Make slow, overlapping passes and empty the bag or bin outdoors if possible.
Q: Do I need an air purifier? A: It helps a lot. Pick an AHAM Verified purifier with a smoke CADR close to two-thirds of your room’s area in square feet. Run it on medium or high during cleaning and for several days after until dust visibly drops. Replace filters per the manual.
Q: How do I clean painted walls without streaks? A: Vacuum gently with a soft brush first. Then wipe with a barely damp microfiber and mild soap solution, working in small sections and drying immediately. Avoid harsh degreasers or soaking, which can leave marks or dull the finish.
Q: Should I clean the HVAC ducts? A: Not always. Change to a high-quality filter first and see if airflow and dust improve. If there’s visible debris at vents, post-construction odors, or you ran the system during heavy dust work, an inspection and targeted duct cleaning can be worth it.
Q: Is steam mopping safe for new floors? A: Be cautious. Steam can damage oiled, waxed, or some engineered wood floors. Check your flooring warranty; a lightly damp microfiber mop is the safer default for most new hard floors after renovation.
Conclusion: Breathe Easier and Enjoy Your Renovated Space
Renovations transform how your home looks and works, but the final step—getting rid of lingering dust and restoring healthy air—determines how it feels. In this guide, you learned why post-renovation dust sticks around, how it can affect your health, and exactly how to remove it with a fast, top-down process: dry capture first, careful damp wiping next, and a smart finish with air filtration and a timely 48-hour re-wipe. You also saw how the right tools—true HEPA vacuums, AHAM Verified air purifiers, and compatible HVAC filters—deliver cleaner surfaces and clearer air in less time. Finally, you have a framework to decide when to DIY and when to hire pros, with realistic costs and timelines.
Now it’s your turn: Block two sessions on your calendar (initial clean and 48-hour touch-up), gather your gear, and set up ventilation and filtration before you begin. Start at the ceiling, follow the checklist, and watch your space go from gritty to gleaming. If you’re short on time or dealing with complex finishes or potential hazards, bring in a professional team for the first pass, then maintain the dust-free finish with your own quick re-wipe and filter change.
Bookmark this guide, share it with a friend who’s renovating, and open the helpful links below to confirm safety practices and size your air purifier correctly. Your project deserves a finish that feels as good as it looks. Take a deep breath—this is the home you imagined finally coming to life. What’s the first room you’ll reclaim and make truly yours again?
Stay focused, protect your health, and enjoy the comfort you just created. A clean, dust-free home is not just tidy—it’s a fresh start.
Helpful outbound links:
OSHA: Crystalline Silica Safety
EPA: Lead Renovation, Repair and Painting (RRP)
AHAM Verified Directory for Air Purifiers
CDC: Cleaning Your Home Safely
AirNow: Check Local Air Quality (AQI)
Sources:
OSHA – Crystalline Silica: https://www.osha.gov/silica-crystalline
U.S. EPA – RRP Lead-Safe Work Practices: https://www.epa.gov/lead/renovation-repair-and-painting-program
AHAM – Room Air Cleaner CADR and Sizing: https://www.ahamdir.com/
U.S. EPA – Indoor Air Quality Resources: https://www.epa.gov/indoor-air-quality-iaq
CDC – Cleaning Your Home: https://www.cdc.gov/hygiene/cleaning/cleaning-your-home.html
AirNow – Real-Time AQI: https://www.airnow.gov/