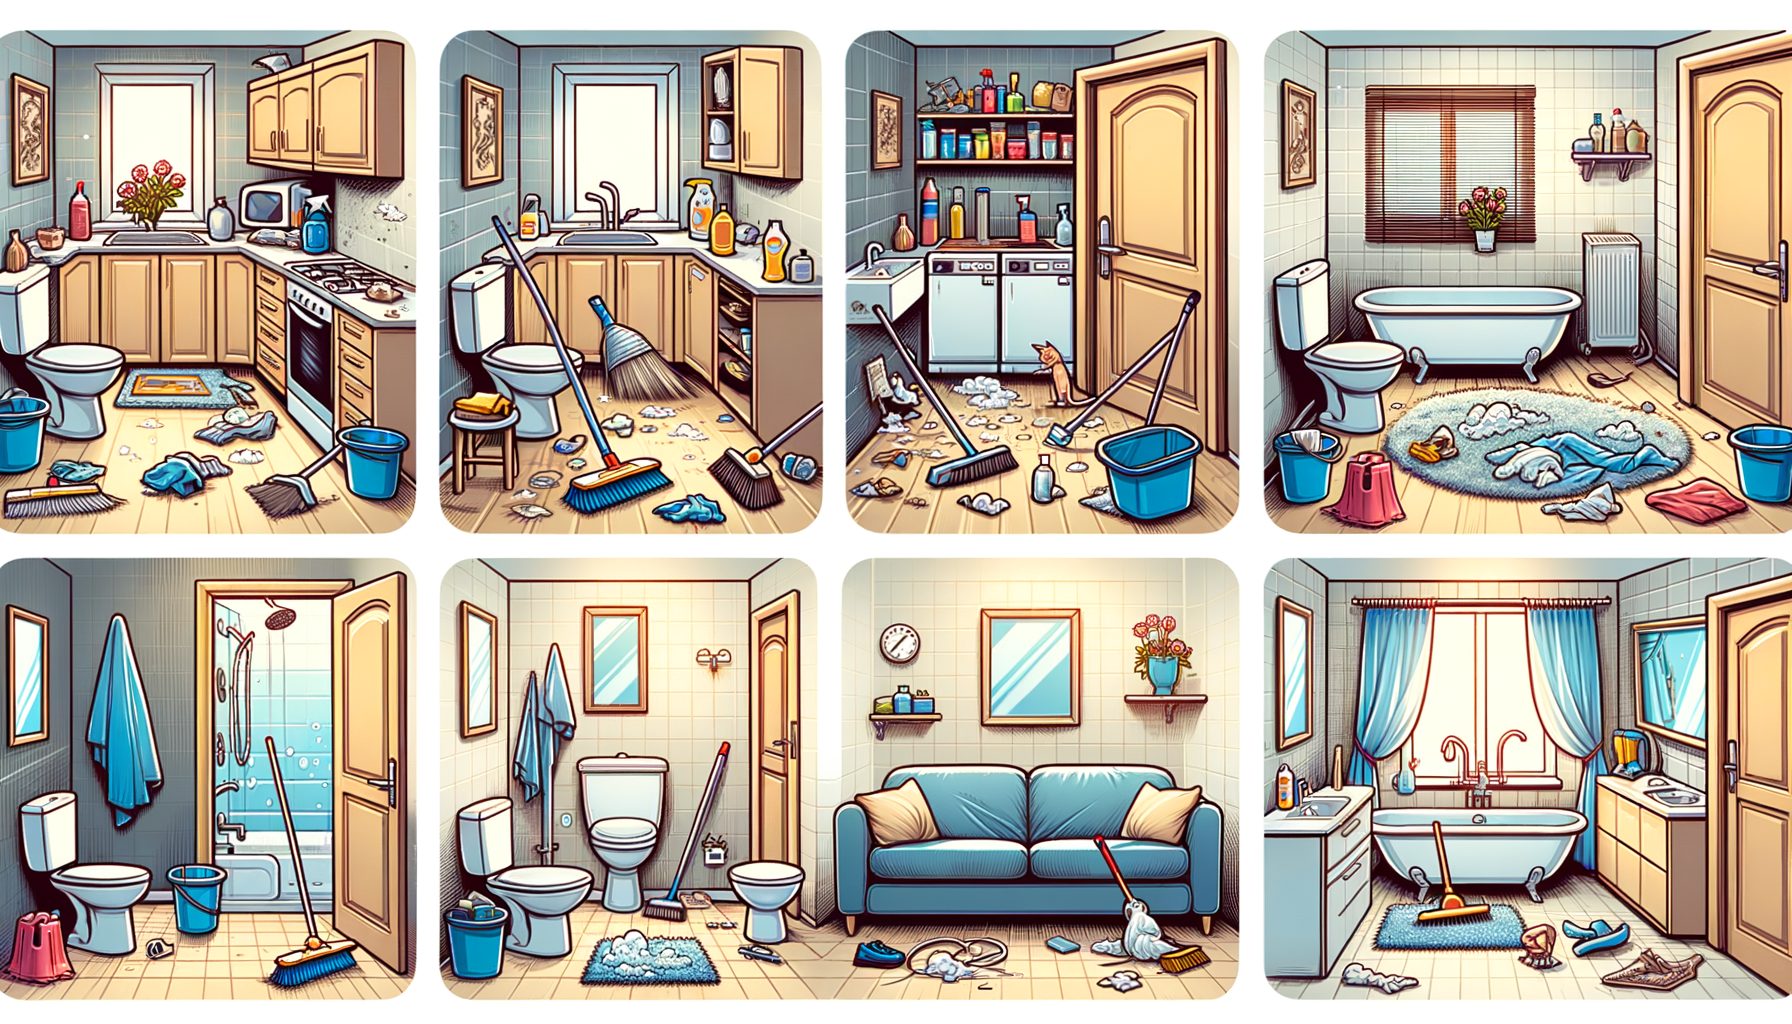
Overwhelmed by clutter, stains, and dust that never seem to end? A strategic Deep Cleaning Checklist can turn chaos into a clear, step-by-step plan. A room-by-room guide shows you exactly where to start, what to do next, and how to keep results without burning out. Whether you’re in a compact studio or a large family home, you’ll get practical steps, pro tips, and a realistic schedule that finally makes a spotless home feel doable.
Prep Smart: Declutter, Gear Up, and Set a Realistic Schedule
Start by tackling the main roadblock: decision fatigue. Deep cleaning often stalls when it’s unclear which room to handle first, which tools to grab, or how long tasks should take. Before any scrubbing, spend 20–30 minutes decluttering surfaces and floors. Remove anything you don’t need from counters, tabletops, and the floor. Use four boxes or bags labeled “Keep,” “Relocate,” “Donate,” and “Trash.” By clearing space up front, momentum is boosted and time isn’t wasted shuffling items around.
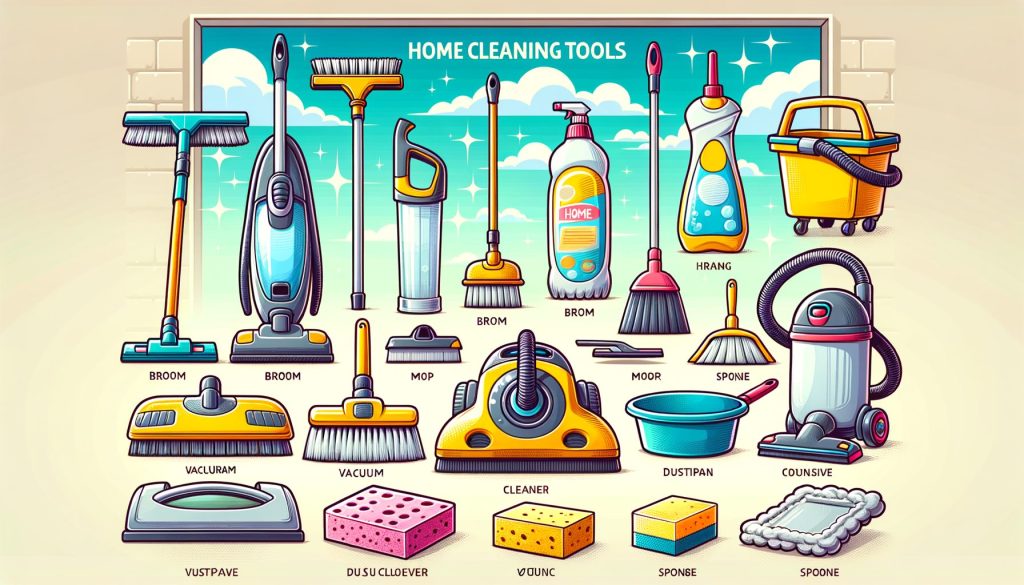
Next, assemble your cleaning kit. You don’t need a closet full of chemicals. Well, here it is: a few reliable basics cover most jobs—microfiber cloths (for dusting and glass), an all-purpose cleaner (or diluted dish soap), a kitchen degreaser, a bathroom descaler for limescale, a disinfectant for high-touch points, baking soda, white vinegar (never mix with bleach), a scrub brush, a squeegee, a bucket, and a vacuum with a HEPA filter if allergies are a concern. Look for products with the EPA Safer Choice label to reduce harsh fumes and environmental impact (EPA Safer Choice). For disinfecting guidance, see the CDC’s recommendations (CDC).
Plan your time by room rather than by the entire home. Work in 60–90 minute blocks with a 10-minute break. Short on time? Choose one “impact area” (like the kitchen or bathroom) that makes your home feel instantly cleaner. Use this quick frequency table to set expectations and avoid over-cleaning or overlooking key tasks:
| Area | Key Task | Recommended Frequency | Typical Time |
|---|---|---|---|
| Kitchen | Oven deep clean | Every 3–6 months | 45–90 minutes |
| Kitchen | Fridge coils dusting | Every 6–12 months | 15–25 minutes |
| Bathroom | Grout scrub/descale | Every 2–3 months | 30–60 minutes |
| Bedrooms | Mattress vacuum/rotate | Every 3 months | 20–30 minutes |
| Whole home | HVAC filter change | Every 1–3 months | 10–15 minutes |
| Windows | Glass + track clean | Every 6 months | 30–60 minutes |
A few pro prep tips: keep a laundry basket nearby to relocate items fast, use a timer to stay focused, put on upbeat music for energy, and open windows for fresh air. If you share a home, assign roles and work in parallel rooms to finish faster. For allergy-sensitive households, surfaces should be damp-dusted and floors vacuumed with a HEPA filter to trap rather than spread dust (American Lung Association).
Kitchen Deep Clean: Grease, Grout, and Germ Hotspots
Grease, crumbs, and sticky film build up in the kitchen where regular wiping can’t reach. Begin at the top and work down to prevent rework. First, dust light fixtures, cabinet tops, and the refrigerator. When it’s safe, pull appliances slightly forward and vacuum behind and underneath. Fridge coils should be cleaned according to your model’s instructions; dust buildup forces the compressor to work harder and raises energy use. Inside the fridge, remove all food, toss expired items, and wipe shelves and bins with warm, soapy water. For lingering odors, sprinkle baking soda, let it sit 10 minutes, then rinse. Keep the fridge at or below 4°C/40°F to slow bacterial growth (FDA).
Move on to the oven and stovetop. Use the oven’s self-clean cycle if available and safe, or spread on a paste of baking soda and water. After 20–30 minutes, scrub. Grates and burner caps benefit from a soak in hot, soapy water. Degrease the range hood filter by soaking it in hot water with a little degreaser or dish soap, then rinse well. Clean backsplash tiles and grout with a mild degreaser or baking soda paste; rinse to prevent residue. Cabinet fronts and handles collect fingerprints and cooking fumes, so wipe with a damp microfiber cloth and dry to avoid streaks.
Sink and disposal sanitizing often get skipped. The sink can be scrubbed with a soft abrasive (like baking soda), then rinsed and high-touch areas—faucet and handles—disinfected. Drop a few ice cubes and a slice of lemon into the disposal to freshen; follow with hot water. If your dishwasher has a removable filter, disassemble and clean it, then run a hot cycle with dishwasher cleaner or a cup of white vinegar on the top rack (check the manual). Finish by sweeping and mopping the floor last so wet areas aren’t stepped on while cleaning above.
Pro tips: keep a “grease patrol” cloth handy while cooking to prevent buildup, label leftovers with dates to reduce fridge mess, and place a tray under oils and sauces in the pantry. What’s interesting too, a steam cleaner on grout and sealed surfaces can reduce chemical use—always test a small area first. And never mix bleach with ammonia or vinegar; hazardous gases are created when they’re combined.
Bathrooms and Laundry: Sanitizing Without Harsh Fumes
Soap scum, limescale, and mildew hide in plain sight in bathrooms. Start with ventilation: turn on the fan and open windows if possible; dusty fan covers should be vacuumed. Spray the shower, tub, and tiles with a descaler or a 1:1 vinegar-water mix (avoid vinegar on natural stone). Allow 10–15 minutes of dwell time—let chemistry do the heavy lifting. Use a grout brush along lines and rinse well. For shower doors, a paste of baking soda and a little dish soap lifts cloudy film; using a squeegee after each shower helps keep it from returning.
Toilets need a two-zone approach: bowl and exterior. Apply toilet cleaner inside the bowl and let it sit while the exterior, including handle and seat hinges, is wiped with a disinfectant. Return to the bowl, scrub under the rim, and flush. For sinks and faucets, use a non-abrasive cleaner, then disinfect handles and light switches. Shower curtains and liners showing mold spots should be replaced or washed. Bath mats should be laundered with hot water and dried thoroughly to prevent mildew.
In the laundry area, deep clean the machines. Front-load washers often collect grime and odor-causing bacteria in the rubber door gasket; clean it carefully. Run a maintenance cycle with washer cleaner or 2 cups of white vinegar (check your manufacturer’s guidance). Detergent drawers can be removed and rinsed. For dryers, clear the lint trap and vacuum the lint cavity and vent hose to reduce fire risk. Keep detergents sealed and stored safely, away from kids and pets. If you’re sensitive to fragrances, choose fragrance-free or hypoallergenic products and wash towels at 60°C/140°F when possible to reduce bacteria.
Go easy on harsh chemicals. Many bathroom surfaces respond well to mild detergents and mechanical action (brushes, microfiber cloths). Disinfectants should be used only where needed—handles, faucets, toilet surfaces—and label dwell times must be followed for effectiveness. For guidance on safer product choices, visit EPA Safer Choice. For general cleaning vs. disinfecting best practices, the CDC offers clear, up-to-date advice.
Bedrooms and Living Areas: Allergen Reduction, Fabrics, and Forgotten Spots
Sleep and air quality matter, so the bedroom deserves more than a quick tidy. Strip all bedding—including duvet covers and pillow protectors—and wash according to fabric labels. The mattress should be vacuumed with a clean upholstery tool and a HEPA-filter vacuum to capture fine dust and allergens. Spot clean stains with a minimal-moisture approach: apply a small amount of upholstery cleaner or a 50/50 water–isopropyl alcohol mix (test first), then air dry. Rotate or flip the mattress quarterly to promote even wear.
Soft surfaces harbor dust. Wash curtains or steam them, and vacuum fabric sofas and chairs using slow, overlapping passes. Move furniture a few inches from walls and vacuum behind and underneath. For carpets and rugs, vacuum twice—once to lift debris, then again perpendicular to the first pass. Consider a periodic professional steam clean for high-traffic areas or use a home carpet cleaner carefully, allowing full drying to avoid odors. If allergies or asthma are an issue, the American Lung Association recommends reducing dust reservoirs and using HEPA vacuum filtration (ALA).
Now tackle the forgotten spots that make a room feel truly clean. Ceiling fans should be dusted (wipe blades top and bottom), and light fixtures and vents wiped with a damp cloth to trap dust. Baseboards clean up quickly with a microfiber cloth wrapped around a ruler for tight edges. Window tracks benefit from a small brush and vacuum, then glass can be wiped with a 1:10 dish soap–water mix or a glass cleaner, finishing with a dry microfiber for a streak-free shine. Sanitize remotes, game controllers, and light switches—high-touch items people often miss. For entryways, set up a “dirt defense” system: a coarse outdoor mat plus a washable indoor mat and a shoe rack. Then this: a shoes-off habit can significantly cut floor grime and pollen tracked indoors.
Finish with flooring. Hard floors should be vacuumed first to remove grit that scratches, then mopped with the correct cleaner for your material (wood-safe, tile-safe, etc.). Avoid over-wetting wood and laminate. HVAC filters ought to be replaced every 1–3 months to help maintain cleaner air and reduce dust settling; check your system’s specs and consider higher MERV ratings if compatible (ENERGY STAR basics). Pair fabric care with attention to detail, and living spaces will look cleaner and feel fresher longer.
FAQ: Quick Answers to Common Deep Cleaning Questions
How often should I do a full deep clean? Most homes do well with a full deep clean every 3–4 months, plus weekly maintenance. Use the frequency table above to target specific tasks like ovens (3–6 months) and HVAC filters (1–3 months).
What’s the difference between cleaning and disinfecting? Cleaning removes dirt and many germs; disinfecting uses chemicals to kill germs on surfaces. Clean first, then disinfect high-touch points when needed. Follow label directions and dwell times (see CDC).
Which products are safest around kids and pets? Choose fragrance-free options when possible and look for EPA Safer Choice products. Ventilate well, store chemicals locked away, and never mix bleach with vinegar or ammonia.
How can I deep clean a small apartment fast? Use 60–90 minute sprints. Tackle the kitchen or bathroom first for the biggest visual payoff, then do a hallway pass: wipe switches, handles, mirrors, and baseboards in one go.
What if I have allergies? Use a HEPA vacuum, damp-dust surfaces, wash bedding in hot water, and consider reducing fabric clutter (extra pillows, heavy drapes). Change HVAC filters regularly and ventilate during and after cleaning.
Conclusion: From Overwhelmed to Organized—Your Clean Home Starts Now
You started with a problem many people share: not knowing where to begin. The Deep Cleaning Checklist laid out a simple, room-by-room system to cut through the overwhelm. You prepped smart by decluttering and gathering tools. High-impact areas—kitchen grease and bathroom buildup—were handled with dwell time, targeted cleaners, and safer choices to get more done with less effort. Bedrooms and living areas were refreshed using allergen-aware techniques, from HEPA vacuuming to mattress care and fabric maintenance. Forgotten spots like vents, baseboards, and window tracks were addressed, then floors and a realistic maintenance schedule wrapped it all up.
Now, turn momentum into a habit. Set a recurring reminder for your next deep clean (in 3 months), plus a short weekly reset for surfaces, sinks, and floors. Print or save this guide, add the frequency table to your calendar, and keep your kit stocked so starting stays easy. If you live with others, assign roles and durations—quick teamwork beats solo marathons. Ask yourself which two tasks will deliver the fastest “wow” factor this week; do those first.
If you want even better results, upgrade strategically: a HEPA vacuum to capture fine dust, a squeegee in the shower to prevent buildup, and quality doormats to stop dirt at the door. Keep ventilation in mind, choose safer products when possible, and always follow manufacturer instructions for appliances and surfaces. For quick references on safer products and best practices, visit the EPA Safer Choice and CDC cleaning guidance.
Your home doesn’t need perfection; it needs a plan. Start with one room today, set a timer, and enjoy the win. Ready to act? Pick your highest-impact zone (kitchen or bathroom), queue a playlist, and begin your first 20-minute sprint now. Clean space, clear mind—what’s the first corner you’ll transform?
Sources:
– CDC: Cleaning and Disinfection
– EPA Safer Choice
– American Lung Association: Indoor Air Quality
– FDA: Refrigerator Safety
– ENERGY STAR: Home Basics