If you’ve ever spent an entire Saturday cleaning only to watch dust reappear by Tuesday, you’re not alone. A Monthly House Cleaning Plan solves the “always cleaning, never done” problem by giving you a clear, repeatable checklist and schedule. Instead of reacting to messes, you’ll run a simple system that keeps every room under control. In this guide, you’ll see exactly what to do, when to do it, and how to do it faster—so your home stays consistently clean without marathon chores.
The Real Problem: Why Your House Never Feels Fully Clean
Most people approach cleaning as a rescue mission: wait until everything looks chaotic, then spend hours scrubbing. Such a reactive approach guarantees burnout because dirt and clutter always return. Without a structure, we forget deep-clean tasks like vents, baseboards, and filters—things that subtly make a home feel dingy even when counters sparkle. Over time, these “invisible” tasks pile up. That’s why your space can look tidy yet still feel less than fresh.
Decision fatigue also plays a role. Every time you wonder, “What should I clean today?” you burn mental energy. When cleaning relies on motivation instead of a plan, busy weeks derail everything. What’s interesting too: adults spend over an hour daily on household activities, according to the U.S. Bureau of Labor Statistics, but much of that time gets scattered on repetitive surface tasks rather than preventive maintenance that keeps messes from compounding. A Monthly House Cleaning Plan streamlines your energy and reduces decision-making by assigning each task a home on the calendar.
Another common issue: uneven standards across rooms. Kitchens and bathrooms get frequent attention because they’re visibly dirty, while areas like closets, blinds, and upholstery get ignored. Then this happens—dust migrates, allergens build up, and a single overlooked zone makes the entire home feel off. The plan below fixes that by distributing deep-cleaning tasks across the month so nothing is overwhelming and nothing is missed.
Tools and setup matter more than most people realize. When supplies are scattered, you lose minutes every session just hunting for microfiber cloths or switching vacuum heads. A lean toolkit and a repeatable route through each room can cut cleaning time significantly. With a structured monthly plan, cleaning gets converted from a draining chore into an efficient routine you barely think about—freeing time for work, rest, and everything else you value.
Build Your Monthly House Cleaning Plan: Core Schedule That Actually Works
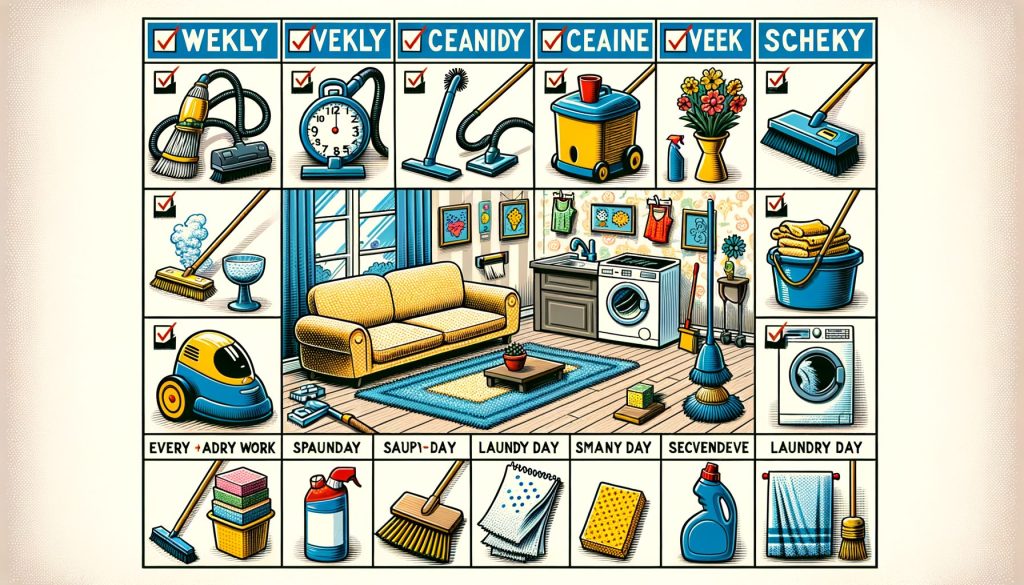
Think of your plan as three layers: daily resets, weekly maintenance, and monthly deep tasks. Daily resets (10–20 minutes) keep clutter and dishes from spiraling. Weekly maintenance handles high-traffic messes. Monthly deep tasks tackle the forgotten stuff that makes a home truly feel fresh. Assign each layer a slot on your calendar so you’re not “finding time”—you’re following a system.
Here’s a simple baseline for a two- to three-bedroom home. Adjust up or down for your size and lifestyle.
Daily (10–20 minutes): quick dish cycle, counters, spot sweep, five-minute declutter pass in living areas, bathroom surfaces wipe, laundry to hamper.
Weekly (60–120 minutes total, split if needed): floors (vacuum/mop), dust visible surfaces, change bed linens, clean mirrors, scrub sinks/showers/toilets, empty trash and wipe bins, stove top and microwave cleanup, laundry cycle and fold.
Monthly (spread across four weeks, 30–60 minutes each session): baseboards and trim, window sills and blinds, vents and filters, oven and fridge deep-clean, shower grout detail, upholstery and mattress refresh, door handles and light switches, under-furniture vacuum, declutter one storage zone.
Well, here it is—an example schedule to anchor your month:
| Week | Focus | Typical Time |
|---|---|---|
| Week 1 | Kitchen deep tasks (fridge, oven, cabinets exteriors), swap dish sponge | 45–60 min |
| Week 2 | Bathrooms detail (grout, showerhead descale, cabinet wipe, vents) | 45–60 min |
| Week 3 | Bedrooms and textiles (mattress rotate, vacuum under bed, wash pillows) | 30–45 min |
| Week 4 | Living areas and dust hotspots (baseboards, blinds, switches, vents) | 30–45 min |
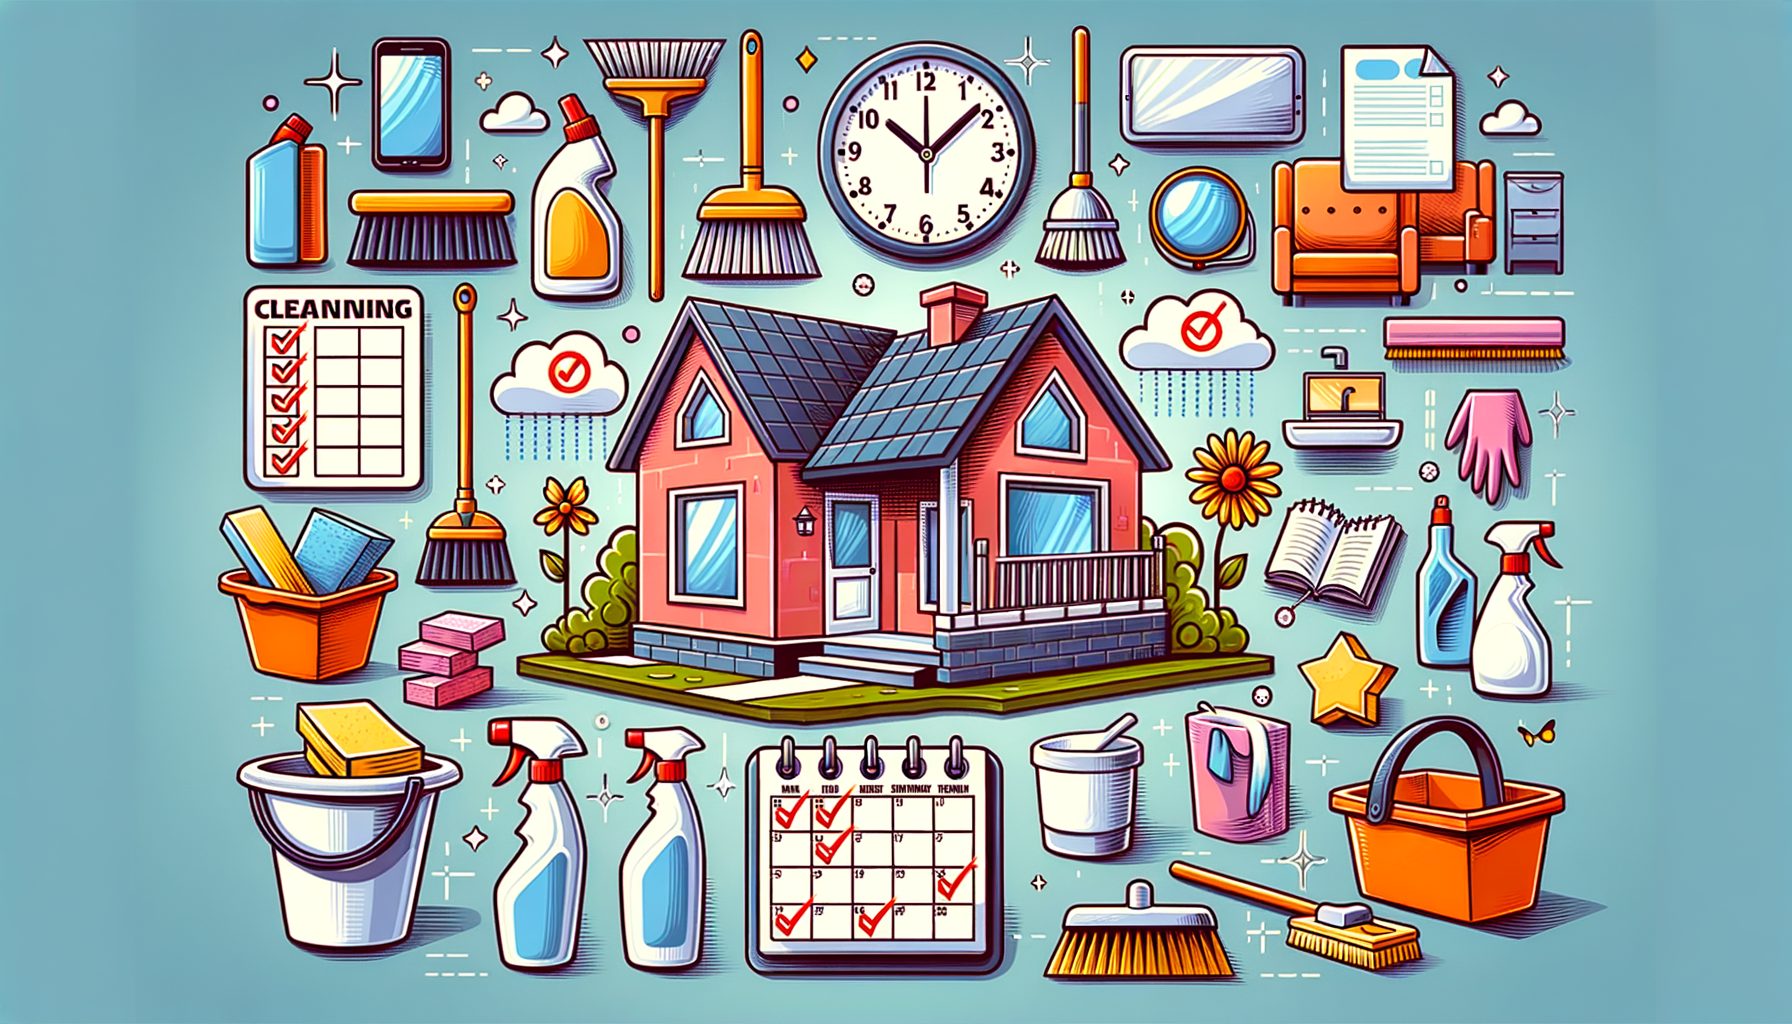
To make it stick, assign exact days: for example, daily reset after dinner, weekly maintenance on Wednesdays and Saturdays in 30-minute chunks, and monthly deep tasks on the first available evening of each week. Supplies should be kept where you use them: a small caddy under each bathroom sink, a microfiber pack in the living room, dish tabs and sponges near the dishwasher. Use a digital calendar or a task app with recurring reminders so nothing slips. If you want to reduce chemicals, check for safer product labels using resources like the U.S. EPA Safer Choice program (link), and follow ventilation and safety guidance from reliable sources such as the CDC (link).
Ultimate Monthly Cleaning Checklist by Room
Kitchen: The kitchen accumulates grease, crumbs, and hidden spills. Monthly, empty and wipe fridge shelves and bins, tossing expired items as you go. Pull out the bottom drawers for a deeper clean if possible. Degrease the oven door and run the oven’s self-clean only if the manual recommends it; otherwise, use a baking soda paste for carbon buildup. Remove and wash stove burner grates and knobs. Wipe cabinet doors and handles, where fingerprints and cooking oils collect. Vacuum and mop under the sink and behind small appliances. Don’t forget the dishwasher: remove the filter, rinse it, and run a hot cycle with a cleaning solution (or white vinegar if the manufacturer allows). Not only does that improve hygiene, it also helps appliances last longer.
Bathrooms: Mineral deposits and soap scum build silently. Once a month, descale the showerhead by soaking it in a bag of diluted vinegar (check material compatibility), clean grout lines with a soft brush, and seal any small gaps with bathroom-grade sealant to prevent moisture issues. Pull items from vanity drawers, wipe inside, and restock. Wash or replace the shower liner if it shows mildew. Clean exhaust fan covers and check ventilation; good airflow cuts down on mold and odors. Disinfect high-touch surfaces like taps and flush handles with an approved product. For guidance on effective disinfection and safer practices, review CDC recommendations or EPA-registered disinfectants.
Bedrooms: Air quality matters where you sleep. Strip and wash mattress protectors and pillows (follow care labels). Vacuum the mattress surface and rotate it if recommended by the manufacturer. Vacuum under the bed and behind headboards, where dust bunnies hide. Wipe baseboards, window sills, and closet shelves. Sort a single category of clothing or accessories monthly to keep closets functional: for example, socks this month, T-shirts next month. Swap seasonal items to labeled bins to reduce morning decision fatigue.
Living and Common Areas: Dust travels, especially from vents and textiles. Vacuum upholstery with the brush attachment, including crevices and under cushions. Spot clean fabric with manufacturer-approved solutions. Dust electronics carefully and manage cables with clips so dust doesn’t knot around them. Wipe door frames, light switches, and remote controls—these collect more oils than most people think. Clean window tracks and blinds; a slightly damp microfiber cloth traps dust without sending it into the air. If you have pets, brush them outdoors or in a designated area and run a de-shedding session on the same day you vacuum to reduce reaccumulation.
Floors and Entryways: For hard floors, vacuum first, then damp mop with a cleaner suitable for the surface. Pay attention to thresholds and transitions where dust gathers. Shake or wash entry mats and place a shoe tray by the door to contain debris. If you live in a snowy or rainy region, keep a towel by the entrance to protect floors during bad weather. Staying proactive at entry points can cut indoor dirt by a surprising amount, saving time across the whole home.
Tools, Products, and Time-Saving Techniques
You don’t need a closet of gadgets to keep a home clean. A streamlined kit reduces friction and speeds everything up. Core tools: a quality vacuum with a HEPA filter (especially beneficial for allergy sufferers), a flat mop with removable microfiber pads, a small scrub brush, a squeegee for glass and shower walls, and 8–10 microfiber cloths in two colors (one for bathrooms, one for general). Add a gentle all-purpose cleaner, a glass cleaner (or vinegar solution for compatible surfaces), dish soap, a disinfectant that meets local guidelines, and a mild abrasive like baking soda for tough spots. Check product labels or safer alternatives using the EPA’s Safer Choice database to match your surfaces and preferences.
Batching is your best time-saver. Clean all mirrors in the home in one go; then do all switches and handles; then vacuum all floors. That reduces setup time and helps you move faster with a single tool in hand. Set a 25-minute timer (Pomodoro-style), focus on one zone, and stop when it rings—momentum builds when tasks feel finite. Keep a “grab-and-go” caddy in each high-use area to eliminate trips to a supply closet. Store a tiny lint roller in the living room for lampshades and fabric dust, and stash a microfiber glove in the car to wipe dashboards at red lights—small habits keep the bigger jobs lighter.
Map a cleaning route to avoid backtracking: top-to-bottom (ceiling fans to floors), clean to dirty (mirrors before sinks), and dry to wet (dust first, then mop). Use the two-hand rule: one hand holds the tool, the other moves items out of the way and returns them instantly. For bathrooms, run the shower hot for two minutes before scrubbing—the steam loosens grime. For kitchens, pre-soak stubborn pans while you wipe counters to use wait time efficiently. If you have hard water, wipe glass and fixtures dry after cleaning to prevent spots; a 10-second habit saves a 10-minute job later. For additional best practices and professional benchmarks, the ISSA (International Sanitary Supply Association) publishes helpful cleaning standards and resources (link).
Q&A: Monthly House Cleaning Plan—Common Questions
Q: How long should a full monthly plan take? A: For an average two- to three-bedroom home, expect around 3–4 hours of monthly deep tasks, split into four sessions of 30–60 minutes, plus weekly maintenance. Time varies with household size, pets, and lifestyle.
Q: Do I still need weekly cleaning if I have a monthly plan? A: Yes. Weekly tasks (floors, bathrooms, linens) prevent mess from compounding. The monthly plan covers deeper, less frequent tasks that keep your home feeling truly fresh.
Q: What if I fall behind? A: Don’t try to catch up all at once. Resume with this week’s task and slot missed items into the next month. The point is consistency, not perfection.
Q: Which products are safest? A: Choose products appropriate for your surfaces and look for third-party guidance like EPA Safer Choice. Always ventilate, follow labels, and never mix chemicals like bleach and ammonia.
Q: How do I involve roommates or family? A: Divide by zone (kitchen, bathrooms, floors) or rotate weekly roles. Post the schedule on the fridge or share a recurring task list in a mobile app so everyone knows what “done” looks like.
Conclusion: Make Clean the Default—Not a Weekend Project
Here’s the bottom line: your home feels perpetually messy because cleaning is happening at random, in bursts, and under stress. A Monthly House Cleaning Plan fixes that with a simple structure—daily resets for clutter, weekly maintenance for high-traffic mess, and monthly deep tasks for the “invisible” grime that makes rooms feel tired. You now have a practical schedule, a room-by-room checklist, and a small, powerful toolkit that speeds up every task. With batching, clear routes, and smarter habits, you’ll work less and enjoy a consistently clean, healthier home.
Start today with one small action: schedule your Week 1 deep task and put a 25-minute timer on your calendar. Place a cleaning caddy where you’ll see it. Share the plan with your household and assign roles. If you want an eco-friendlier approach, check the EPA Safer Choice list and the CDC’s cleaning guidance, and swap in safer products. Then this—follow your plan for two weeks and notice how daily resets and weekly maintenance lighten the load. By the end of your first month, you’ll spend less time cleaning and more time living in a space that feels calm and ready for anything.
Your home doesn’t need a heroic cleaning day—it needs a repeatable system. Make clean your default by committing to this checklist and schedule now. You’ve got this, and your future weekends will thank you. What’s the first task you’re putting on your calendar today?
Sources and helpful links:
– U.S. EPA Safer Choice: https://www.epa.gov/saferchoice
– CDC Cleaning and Disinfecting Guidance: https://www.cdc.gov/flu/school/cleaning.htm
– U.S. Bureau of Labor Statistics, American Time Use Survey (household activities): https://www.bls.gov/tus
– ISSA (International Sanitary Supply Association): https://www.issa.com